
Why condensation occurs in the home and how to stop it
Published on 14.08.2026 · Isoflect Insulation technical team
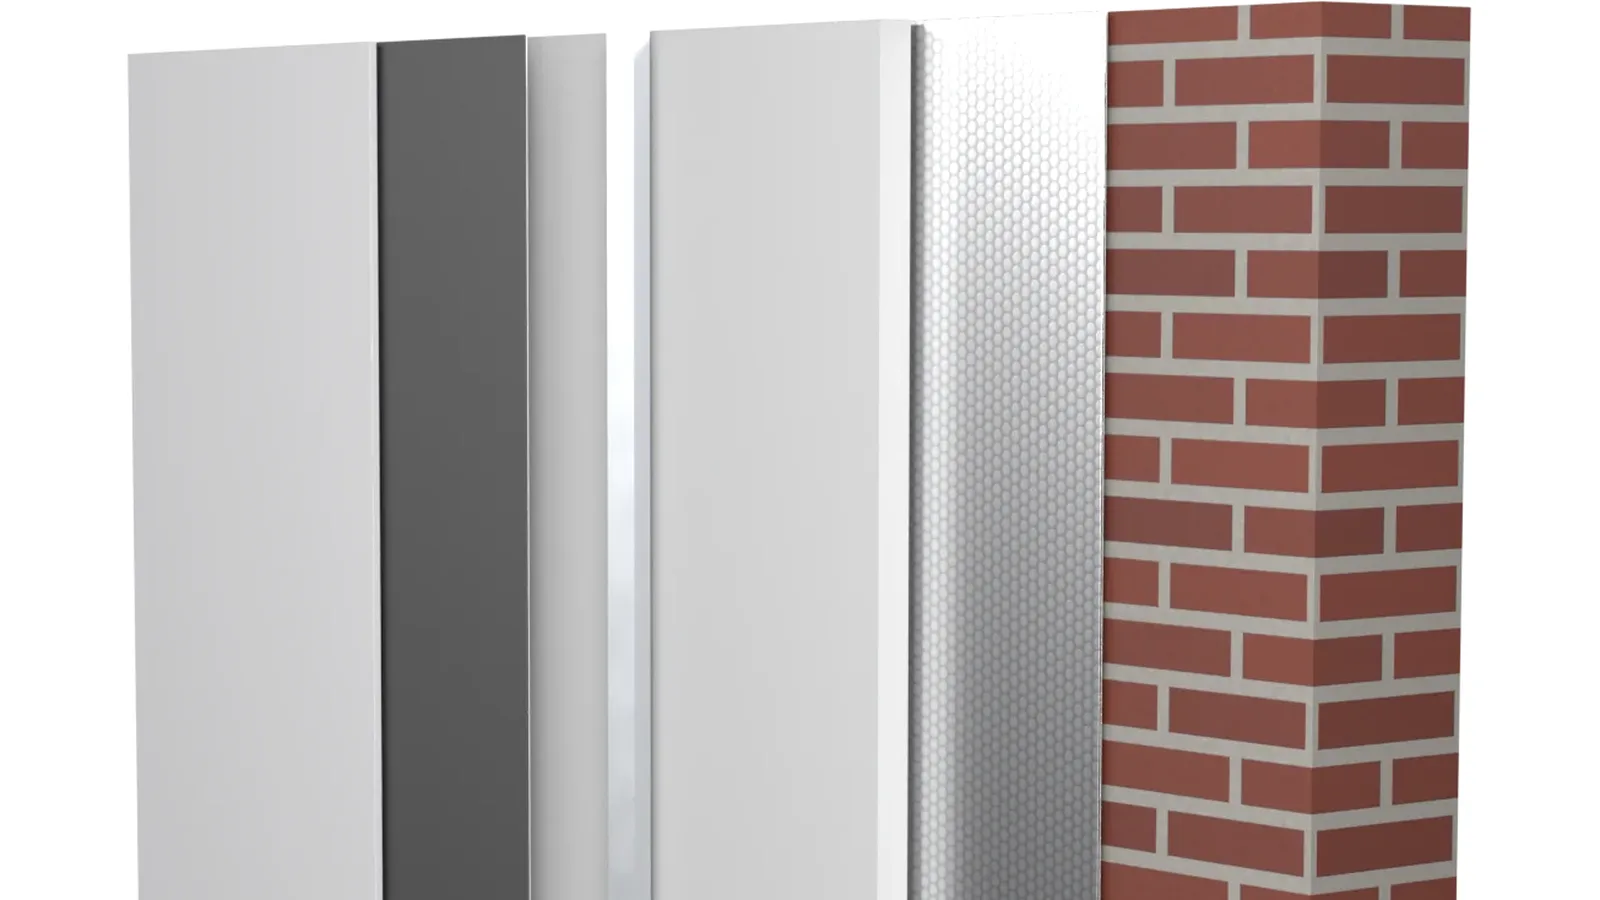
Condensation on the window in the morning appears to be a minor detail, but droplets that reappear daily on the glass, in the corners of walls or beneath the roof convey a clear message about the home. Why does condensation occur? Because warm, moist indoor air meets a surface colder than its dew point. There, water vapour turns into liquid water. The real problem is not the water itself, but the location and frequency with which it forms.
In an energy-efficient house, condensation control is not achieved with a single membrane or with occasional airing. It is the result of a correct system: continuous insulation, careful sealing, vapour management and ventilation sized for the way the house is used.
Why condensation occurs in the home
Air can hold a certain quantity of water vapour. The warmer it is, the more moisture it can carry. When this air cools near a window, an external wall, a pipe or the underside of the roof covering, its capacity to retain vapour decreases. If the temperature reaches the dew point, the excess vapour becomes condensation.
In practice, two conditions are required: sufficient humidity in the air and a cold surface. A bathroom without extraction, laundry dried indoors, cooking without an extractor hood vented to the outside, numerous plants, a damp basement or simply the presence of a family in a well-sealed house can rapidly raise the humidity level. In winter, the large difference between the heated indoor air and the cold exterior makes the phenomenon much more visible.
A slightly misted window after a hot shower does not automatically indicate a defect. By contrast, persistent condensation on window frames, cold patches behind furniture, a smell of mould or droplets in the roof space are signs that the building assembly needs to be inspected.
The dew point: the reference that explains the phenomenon
The dew point is the temperature at which air reaches saturation and begins to release water. For example, in a room at approximately 70°F with a relative humidity of 60%, the dew point may be high enough for a cold window or a poorly insulated corner to condense.
This principle explains why the same house may be dry in one period and damp in another. The outdoor temperature, the level of heating, indoor activities and ventilation constantly alter the balance. There is no single universal value for all homes; however, for comfort and the protection of materials, many owners aim in winter for a moderate indoor humidity, adjusted according to the outdoor temperature and the performance of the windows.
Where condensation forms and what it may indicate
The place where water appears provides the first diagnosis. Condensation on the inner face of the glass generally indicates excessively humid indoor air, cold glazing or both. Old window frames, poor spacers in the glazing units and air leakage around the perimeter increase the risk, but even high-performance windows can condense if the room has excessive humidity.
Condensation between the panes of an insulating window has a different cause: the seal of the glazing unit is compromised. In this case, airing the room does not repair the window. An assessment of the glazing unit or the window frame is required.
Damp patches in corners, behind large wardrobes or at the junction between the wall and the floor slab may indicate thermal bridges. A thermal bridge is an area through which heat is lost more rapidly than through the rest of the envelope. The local temperature of the interior surface falls, and condensation may appear even if the wall feels dry to the touch in other areas.
In the roof space and habitable attic, the stakes are higher. Warm, moist air rises naturally, and any unsealed joint in the ceiling, any cable penetration or light fitting may allow vapour to reach the insulation layer. If it meets the cold side of the roof, condensation can dampen the timber, reduce the efficiency of the insulation and create conditions for mould. Here, a membrane installed without continuity or placed on the wrong side can aggravate the problem instead of solving it.
Condensation, water ingress or moisture from the foundation?
Not every water stain is condensation. Water ingress frequently manifests itself after rain, snowmelt or at particular points of the roof and façade. Capillary moisture from the foundation rises from the base and may leave salts or deteriorated areas in the lower part of the walls. A plumbing leak often appears locally and does not necessarily follow the cold areas of the house.
Condensation, by contrast, follows a pattern linked to season, use and temperature. It is more pronounced in the morning, in the bathroom, kitchen, bedrooms and on surfaces with insufficient insulation. A simple hygrometer, combined with observation of the surface temperature and of the time at which the patches appear, provides useful information before any intervention.
How to reduce condensation without compromise solutions
The first step is to control the source of vapour. Use the bathroom fan for the duration of the shower and for a further 15-20 minutes afterwards, cook with an extractor hood that vents to the outside and avoid frequently drying laundry in rooms without ventilation. If the home is very airtight, controlled mechanical ventilation may become a more predictable investment than random airing through the windows.
Short, intensive airing is useful in cold climates, particularly after activities that produce a great deal of moisture. Nevertheless, it does not correct a thermal bridge and does not replace a correctly installed roof solution. Opening the window may temporarily lower the humidity, but if the interior surface remains very cold, the problem returns.
The second step is to raise the temperature of interior surfaces by means of correctly designed, uninterrupted insulation. In a wall, in a floor slab above an unheated space or in a habitable attic, both the thickness and the Lambda thermal conductivity of the insulation matter, as does the continuity of the installation. Gaps, unsealed joints and compression of the material can diminish the calculated performance.
The third step is vapour management. A vapour barrier or a membrane with adapted behaviour must be selected according to the structure, the climate and the position of the layers. In many areas of the USA with cold winters, the warm side of the assembly requires careful vapour control, while towards the exterior a safe drying path is necessary, where the design permits it. There is no universal membrane for all roofs, façades or habitable attics.
Anti-condensation and diffusion membranes have different roles. A diffusion membrane installed beneath the roof covering can protect the insulation from water coming from the exterior and allows vapour to escape from the structure. A vapour control membrane, installed on the interior side in accordance with the system, limits the passage of moist air towards cold areas. Sealing joints, overlaps and penetrations with compatible accessories is as important as the membrane itself.
Mistakes that move the problem inside the structure
The most costly mistake is installing a vapour barrier without understanding the drying path of the wall or roof. If an assembly is enclosed between two highly impermeable layers, accidental moisture may remain trapped. The timber may deteriorate slowly, and the signs become visible only after years.
Another mistake is insulating only the obvious areas. For example, a generously insulated roof space, but with a ceiling full of unsealed penetrations, may continue to receive moist air into the wool layer. Likewise, placing furniture flush against a cold external wall reduces air circulation and encourages localised patches.
Also avoid solutions that conceal the symptom. Anti-mould paint may help as a complementary measure, but it does not eliminate condensation. A dehumidifier is effective for temporary control or for certain spaces, but it consumes energy and does not remedy defective insulation, sealing or ventilation.
A correct system for the habitable attic, roof space and walls
For a habitable attic, a safe system must be analysed layer by layer: interior finish, air and vapour control zone, insulation, diffusion membrane where necessary, ventilation space and roof covering. The exact sequence differs between ventilated roofs, compact roofs, structures with rigid foam and renovations where intervention from the exterior is not possible.
For owners and installation teams, the choice becomes more predictable when materials are treated as a system rather than as separate products. Isoflect can assist in configuring a solution for the roof space, habitable attic, walls or building services, with membranes, insulation and sealing accessories compatible with the installation situation.
Before covering a wall or enclosing a habitable attic with plasterboard, check where the air will circulate, where vapour may reach and by what path the structure will be able to dry out. This simple check protects the comfort of the house, the performance of the insulation and the repair budget for many years.
Not sure which Isoflect product suits you? See the complete map — which Isoflect product is installed in each area of the house or open the package configurator to find out exactly what you need and in what quantity.